Discover EmbroideryShristi
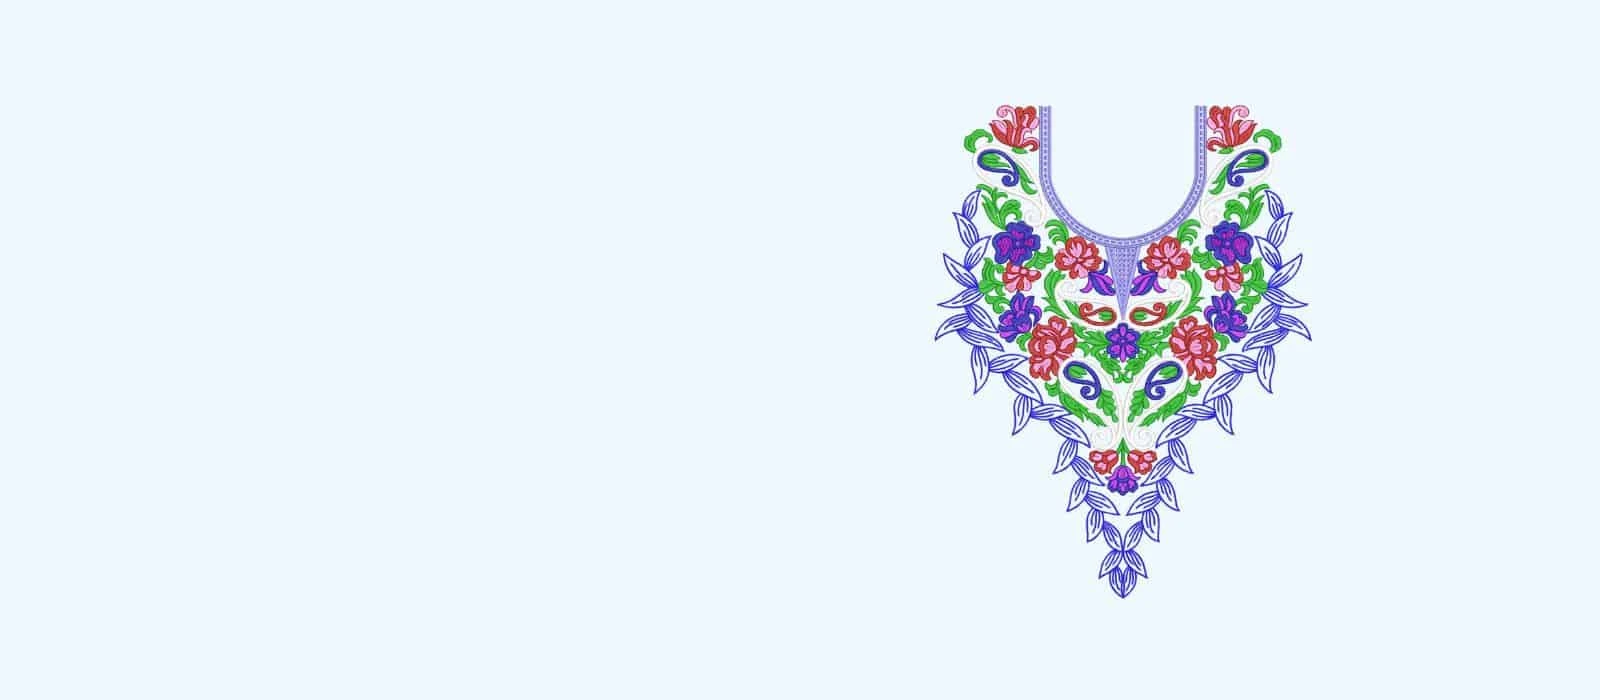
Discover a world of possibilities with our unique Embroidery Designs.
A dedicated online store for small and large hoops machine embroidery designs.
Experience the power of native EMB format:
- Easily Resize for Your Projects
- Freedom to Modify and Create
- Effortlessly Split Designs

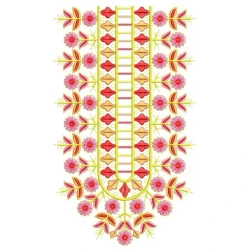
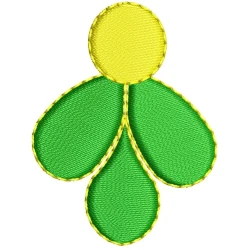
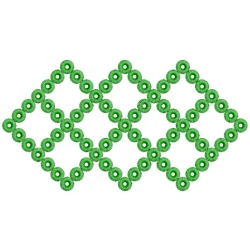
New products


Request Us
Request us for new features or embroidery designs here.

Custom Embroidery Designs
Request custom embroidery designs for the lowest price here.


Online Community
Meet other embroidery lover people here at our forum.